 USD
USD
 ($) AUD
 (₹) INR
 ($) CAD
 (R$) BRL
 (€) EUR
 ($) HKD
 (¥) JPY
 (RM) MYR
 ($) MXN
 ($) NZD
 (₱) PHP
 (£) GBP
 ($) SGD
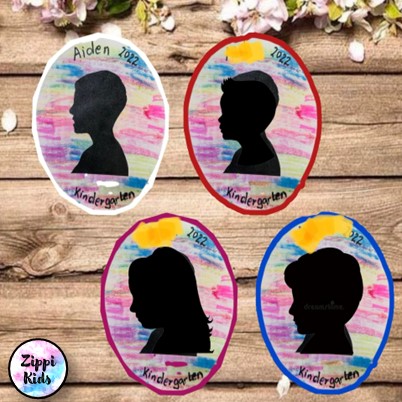
How To Create a Silhouette Portrait in PowerPoint
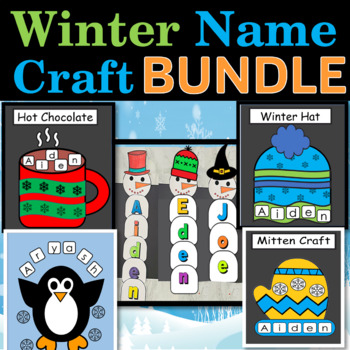
Silhouette Portrait craft activities for Preschool and Kindergartens is one of the most beautiful crafts I've ever made, and it's also surprisingly one of the easiest. I've always loved photographs in silhouette; for some reason, they appear incredibly gorgeous! But the most difficult things have been finding How To Make Silhouette Portraits in simple and quick way. Check out this Easy Silhouette Portrait crafts for Preschool and Kindergartens
I have come across blogs which talk about ways to make silhouette portraits in ways which are too lengthy, complex and time consuming! So, I had to do my own research and come up with a super simple and easy way to make Silhouette, which is by using PowerPoint Presentation.
Just in few easy and quick steps you can create as many silhouette you need in no time!
How to Make Silhouette Portraits in Easy and Simple way using PowerPoint(PPT)
- Insert a side profile photo of the kid in PowerPoint
- Select the picture
- Click on "picture format" tab
- Click on "Remove background"
- Click on "Mark areas to keep"
- Use the pen to select the areas you need in the silhouette
- Once, you are done. Click on "keep changes"
- "Crop" the image, as per your need
- Right click on the picture and go to "format picture"
- On the side bar go to the "picture icon"
- Select the photo and Reduce the "brightness" to -100
- Ta-da!!! It's done..
Check out the Detailed video " How To Make Silhouette Portraits "


Hands-on craft and art ideas,
activities, printable and digital resources for preschool and kindergarten kids